How many of you have always wanted to bake your own Sourdough loaves? It is a super fun and rewarding process that starts with making a Sourdough Starter from just flour and water. With my extremely simple guide to creating your own Sourdough Starter at home in just 9 days, you will be ready to bake beautiful Sourdough Bread for your family and friends. With the world literally coming to a standstill due to the Coronavirus and everyone having to stay at home, this is the perfect time to mix some flour and water and watch the magic happen right before your eyes.
For the past two weeks, I have been sharing my daily Sourdough Starter process (from scratch!) on my Insta Stories. I have been feeding, mixing, discarding, fermenting LIVE while sharing all my handy tips and tricks that will help you make a sourdough starter at home. So, follow me on Instagram, watch my Insta Stories and read this blog post. Have fun!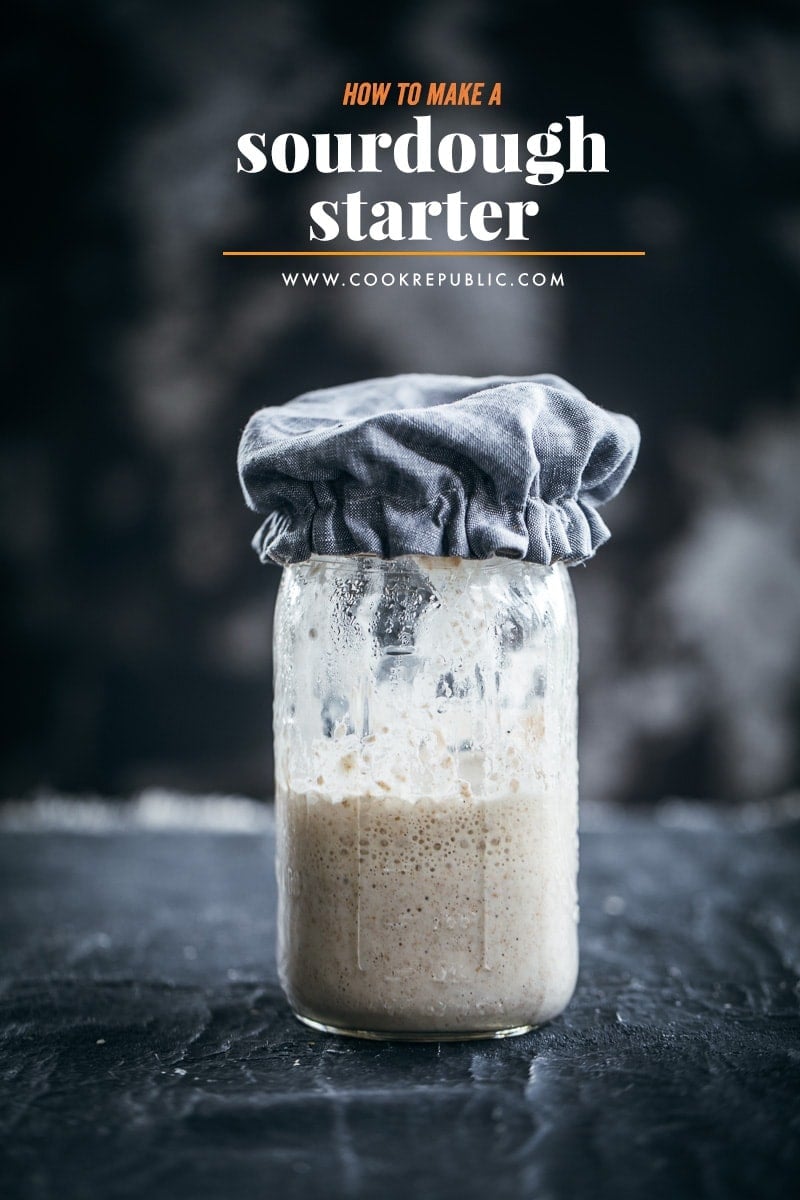
BASIC SOURDOUGH STARTER INSTRUCTIONS
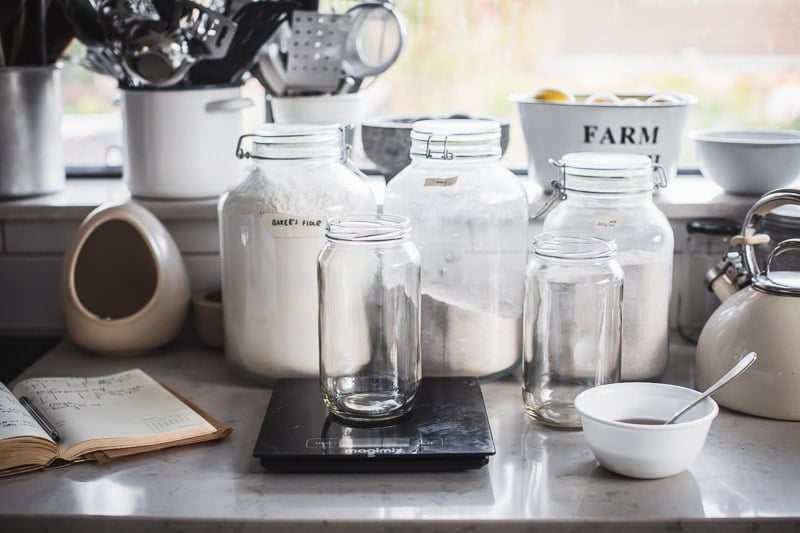
Equipment Needed For Sourdough Starter
- Clean and dry 1-litre glass jar or container with a lid.
- Linen or muslin cover.
- Clean long-handled steel spoons.
- Weighing Scales
- Notepad and pen
Important Things To Remember Before Starting
- Wash a 1-litre glass jar or container with warm water and baking soda. Wash thoroughly, rinse and dry.
- Measure your empty jar and write down the weight because that will be useful later.
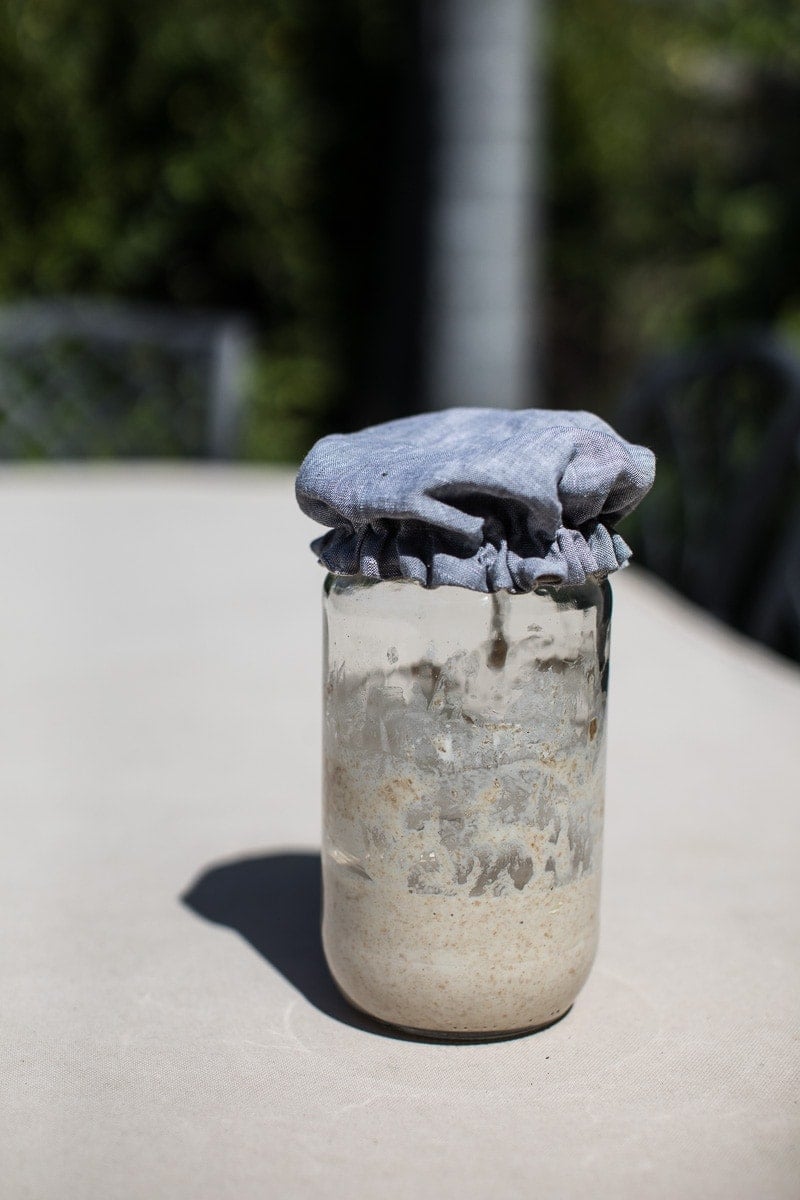
- You don’t need to secure the lid of the jar or container tightly. I prefer using a linen cover or just a screw-top lid placed lightly on top of the jar.
- Always use filtered water. You can also boil and cool tap water/bottled water and use that.
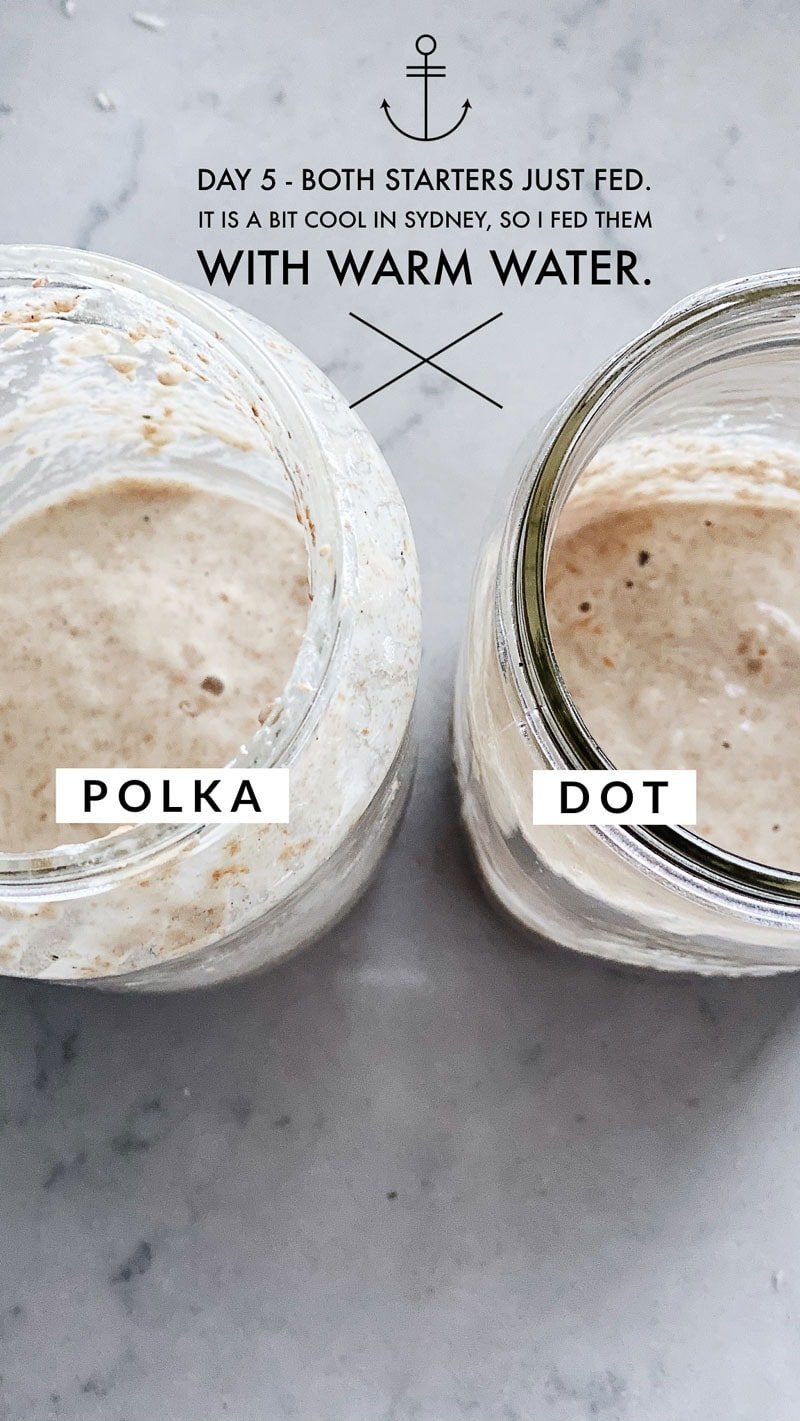
- The ideal temperature for a starter is between 21C-29C. If the temperature is lower than 24C where you are, remember to warm your water slightly before using.
- You can start your starter with 100% of Baker’s/Organic White Flour. Or you can use 50% Baker’s/Organic White Flour and 50% high-mineral textured flour like Wholemeal/Rye/Spelt/Khorasan. The high-mineral flour helps with the fermentation.
- It is important to have a warm environment for the starter to ferment. This is easily achievable in late spring and all through summer. But during the cooler months of autumn and winter, invest in a Brewer’s heating pad to consistently keep your starter warm. Alternatively, warm wheat bags in the microwave and wrap around your starter jar with tea towels. Place your starter jar along with the tea towels/warmed wheat bag in a box and place the box in a warm, non-drafty area of your kitchen or pantry. You can also place your starter jar close to your cooktop or oven for residual cooking heat. In cooler months, placing the jar in direct gently sun is also a good way to give it some much-needed heat.
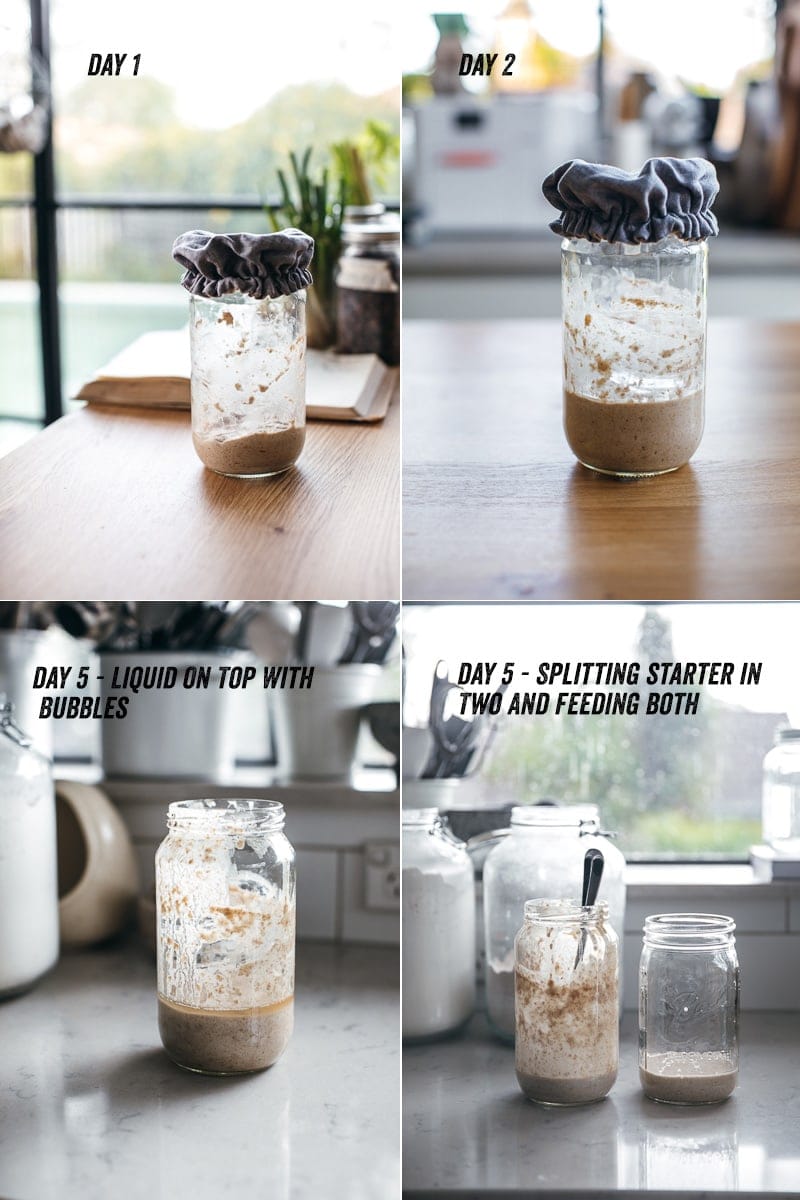
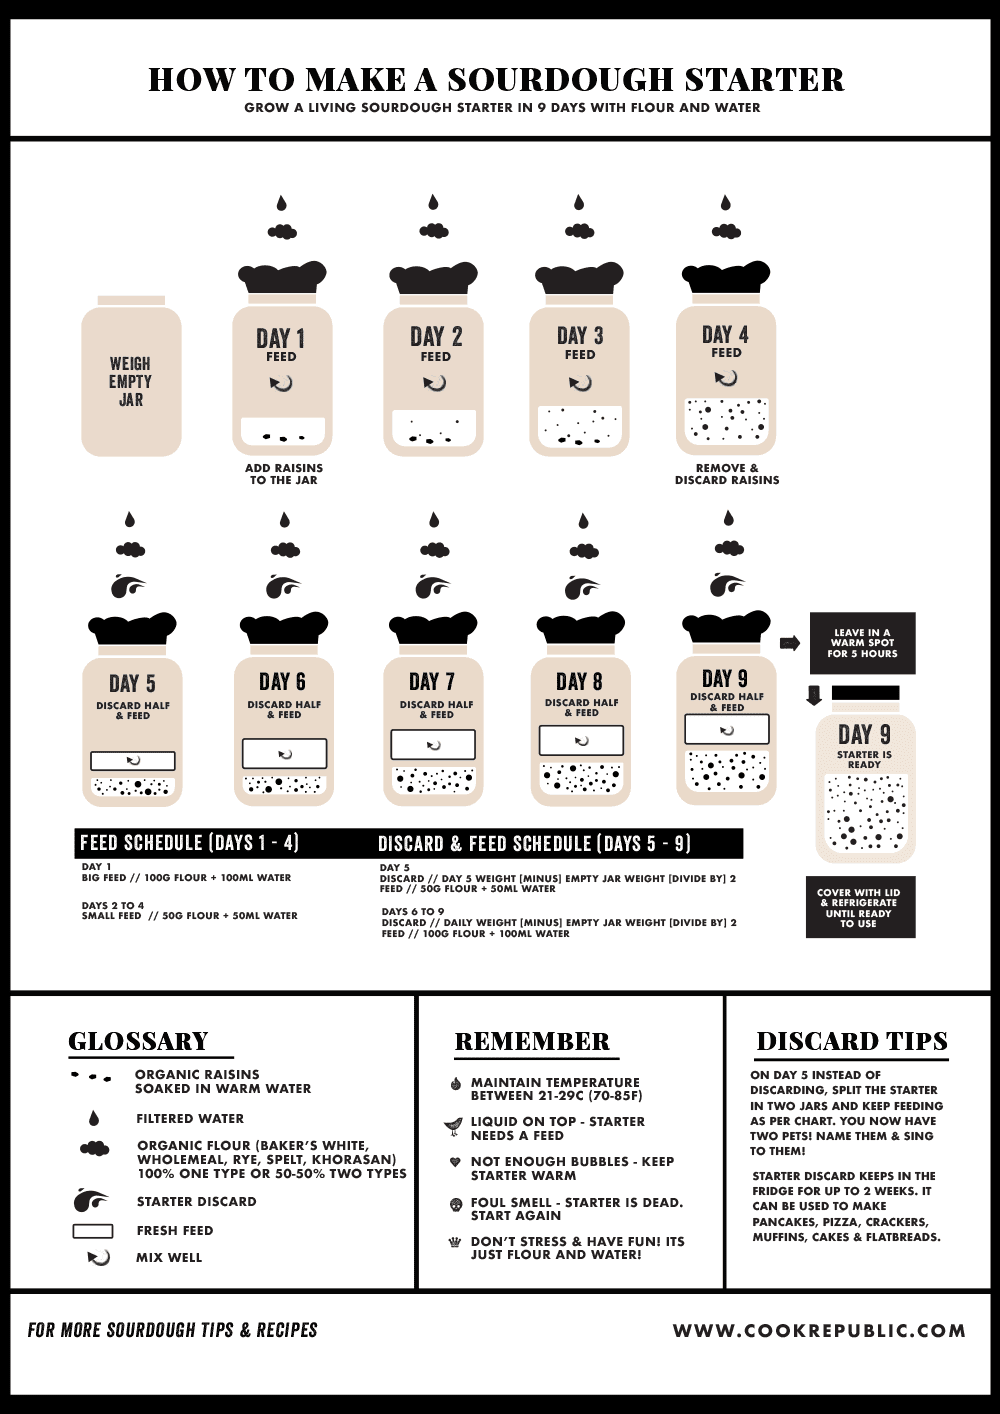
Feeding Schedule - Days 1 To 4
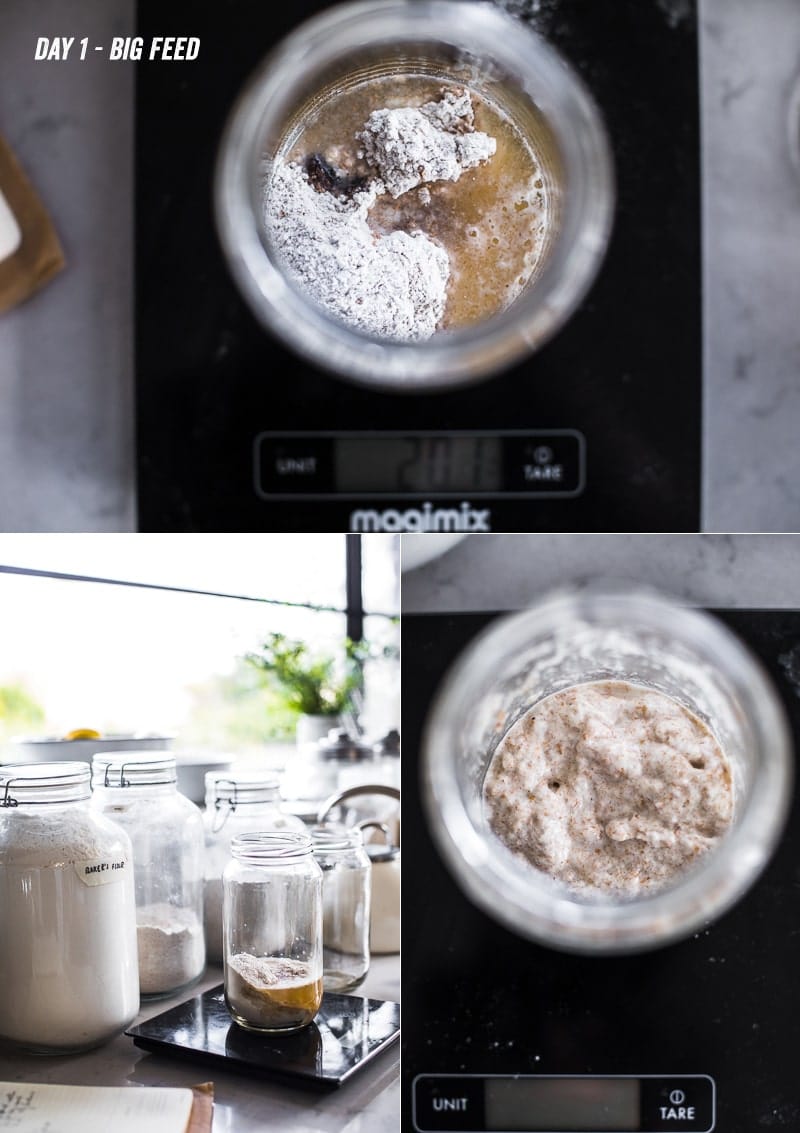
Day 1 Start With A Big Feed – Mix all in a clean, dry jar, cover loosely, place in a warm spot.
3-4 organic raisins or sultanas, soaked in warm water for 15 minutes
100g Baker’s Flour (or any Organic White flour)
100ml Filtered Water
Day 2 - Small Feed
50g Baker’s Flour (or any Organic White flour)
50ml Filtered Water
Day 3 - Small Feed
50g Baker’s Flour (or any Organic White flour)
50ml Filtered Water
Day 4 - Small Feed
You can remove raisins at this point and discard or just leave them in.
50g Baker’s Flour (or any Organic White flour)
50ml Filtered Water
Discard & Feeding Schedule - Days 5 To 9
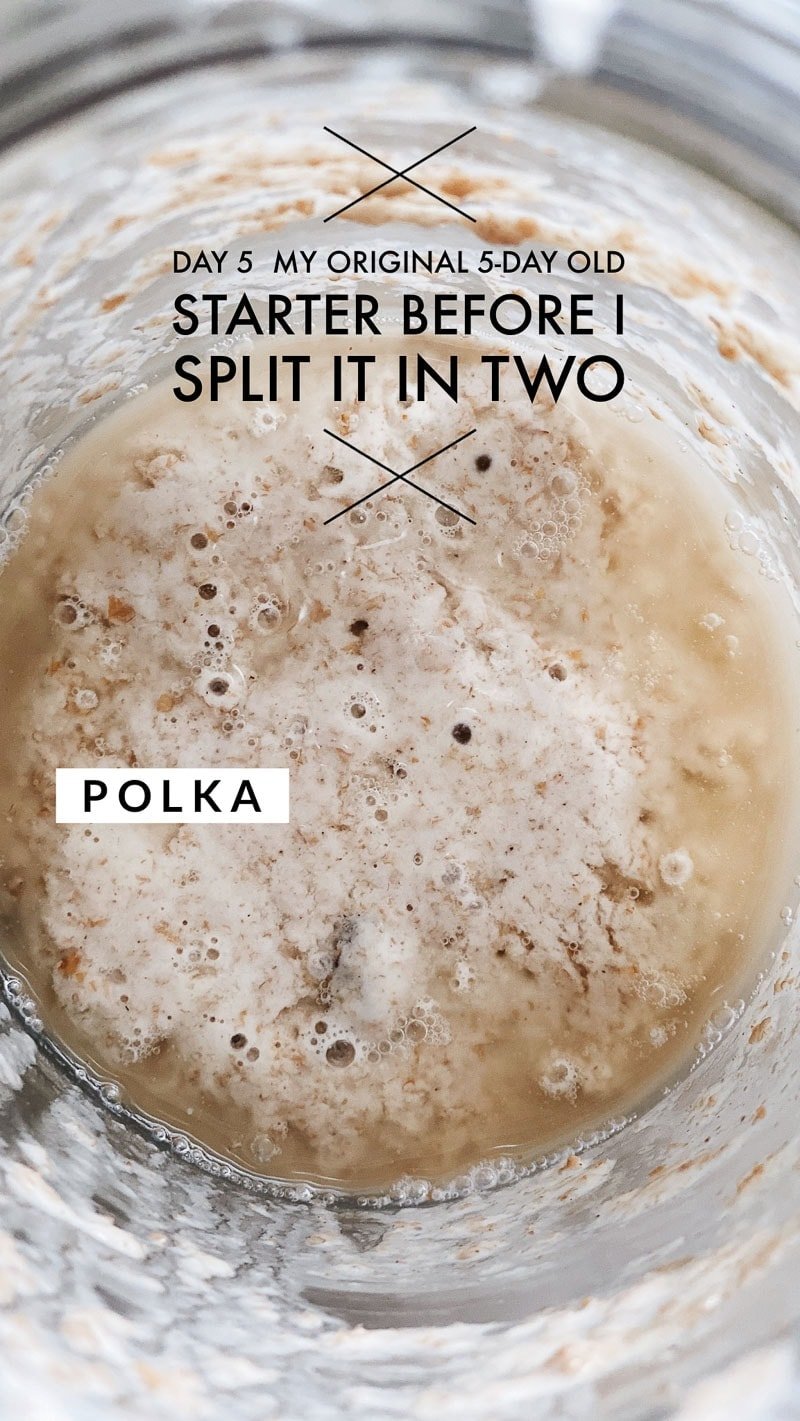
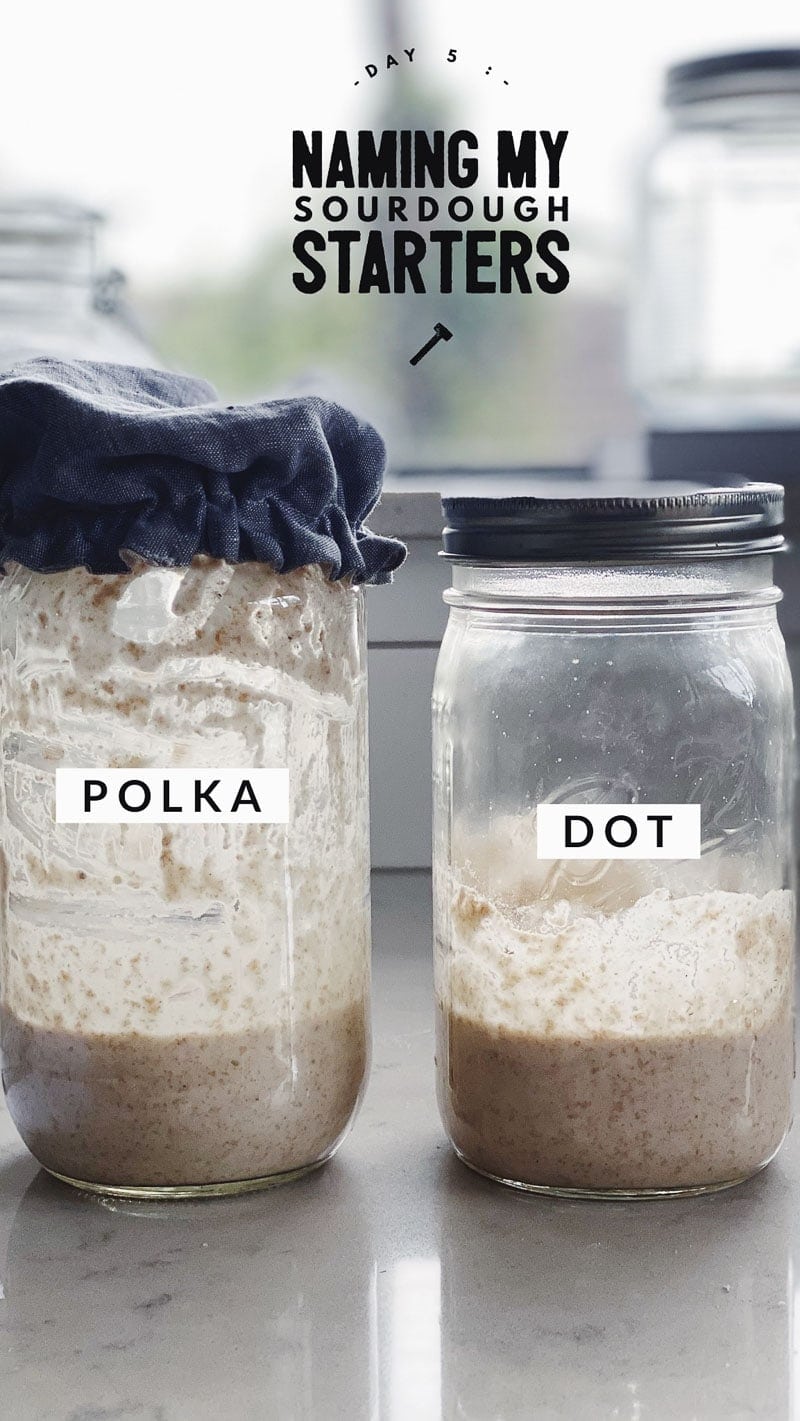
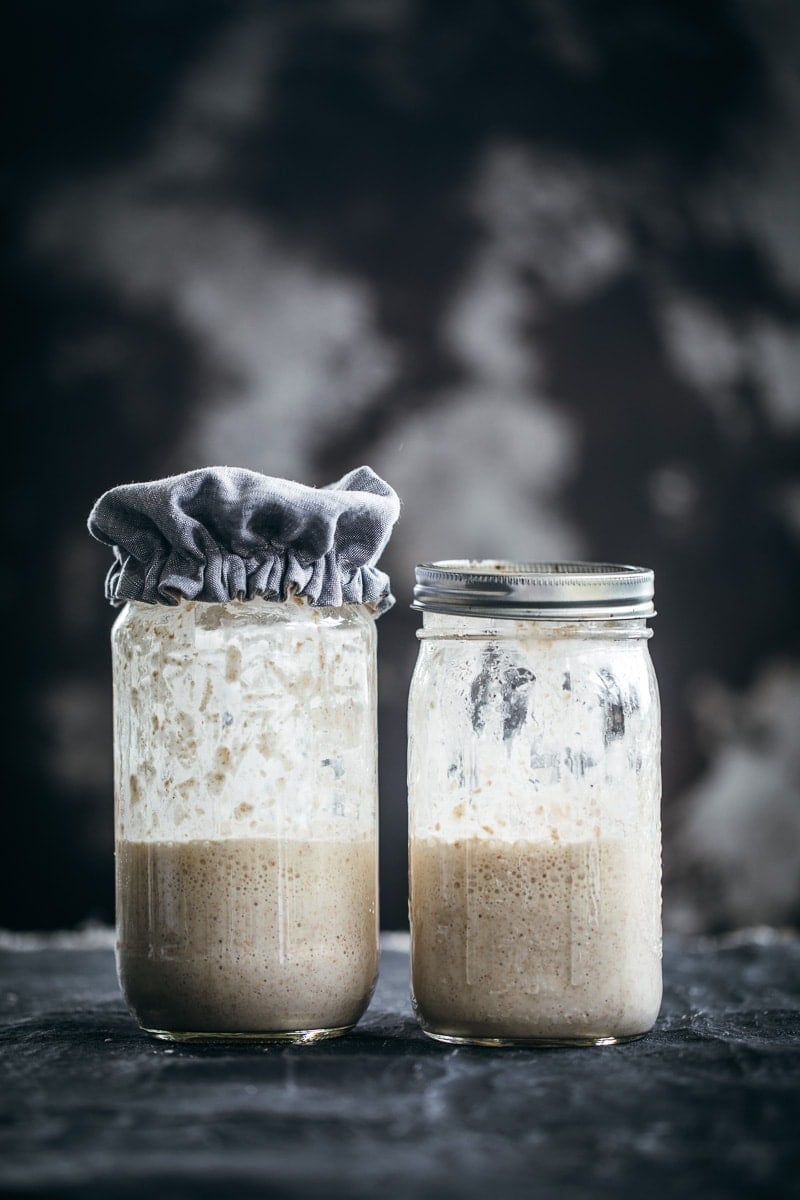
Day 5 Discard Half & Feed Small (Can Split Sourdough Starter In Two Starters and Feed Both Half. If you have left raisins in, divide them between both jars if splitting starter in two)
Discard Half
Feed :
50g Baker’s Flour (or any Organic White flour)
50ml Filtered Water
Day 6 Discard & Grow (Big Feed – Original Amount)
Discard Half
Feed :
100g Baker’s Flour (or any Organic White flour)
100ml Filtered Water
Day 7 Discard & Grow (Big Feed – Original Amount)
Discard Half
Feed :
100g Baker’s Flour (or any Organic White flour)
100ml Filtered Water
Day 8 Discard & Grow (Big Feed – Original Amount)
Discard Half
Feed :
100g Baker’s Flour (or any Organic White flour)
100ml Filtered Water
Day 9 Discard & Grow (Big Feed – Original Amount)
Discard Half
Feed :
100g Baker’s Flour (or any Organic White flour)
100ml Filtered Water
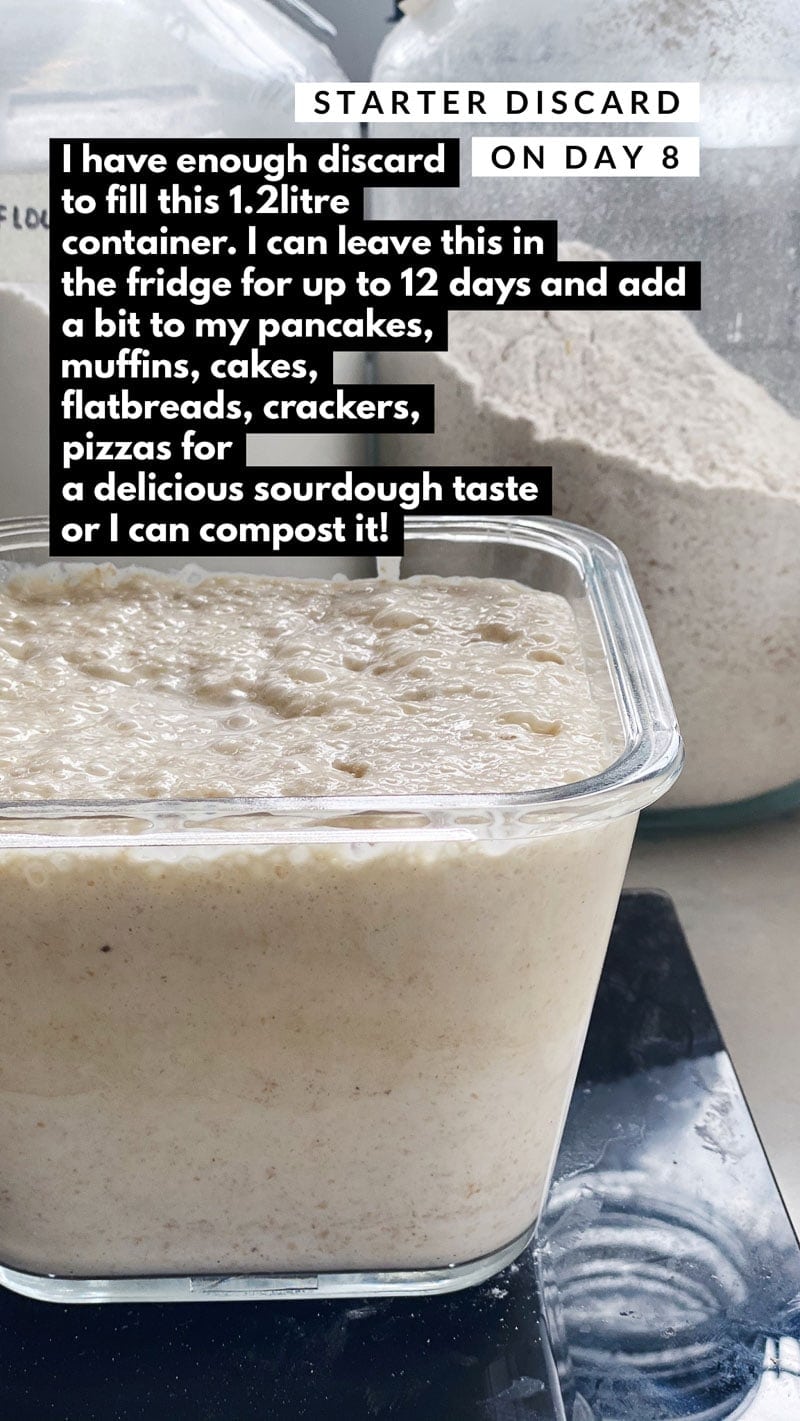
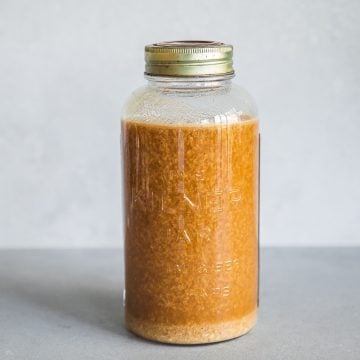
Leave at room temperature for 4-5 hours. Now Sourdough Starter is Ready. You can cover tightly with lid place in the refrigerator until ready to use. And here is what to do with your Sourdough Starter Discard.
Sourdough Starter Questions And Troubleshooting
What is the deal with raisins? Do I have to add them in? What else can I add?
On Day 1 we start by putting organic soaked raisins in the starter. You could take them out from Day 4 onwards. But I like to leave them in permanently. The sugar in the raisins helps the yeast to grow. You could add organic sultanas if you don't have raisins. You don't have to add either, it just helps the process and somehow imparts a beautiful flavour to the sourdough later on.
When I mix my flour and water on the first day, the paste seems a bit dry. What do I do?
This is fine. As the fermentation process kicks in, the organisms will eat the flour and release some liquid which will loosen your starter and make it soft and drippy like pancake batter. If you are using wholemeal, rye, spelt or any other whole flours, you may add extra 15 ml water on the first day as these flours tend to be a bit dry and soak up more water.
I have dried bits on the inside wall of my jar? What do I do?
All the dried bits are good. Use a clean long-handled steel spoon to mix your starter every day. Make sure you are scraping the insides of the jar and mixing every little bit in the starter ensuring there are no dry bits.
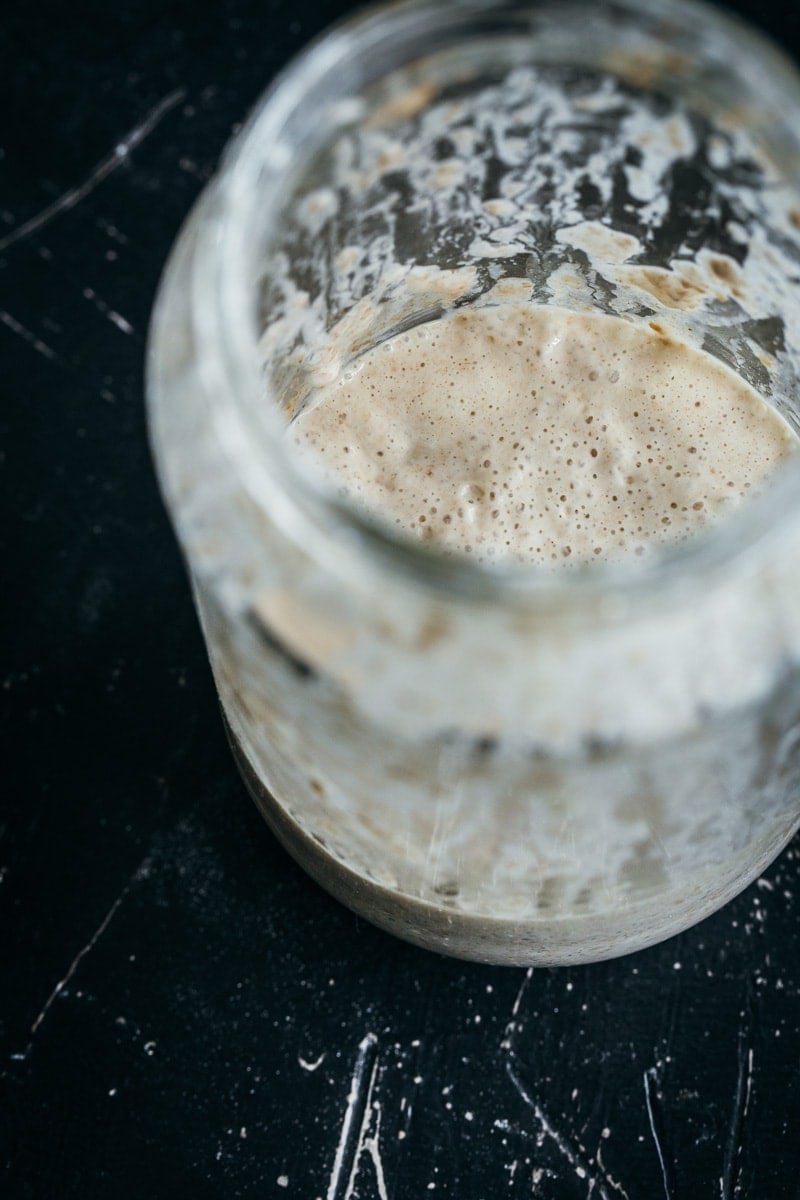
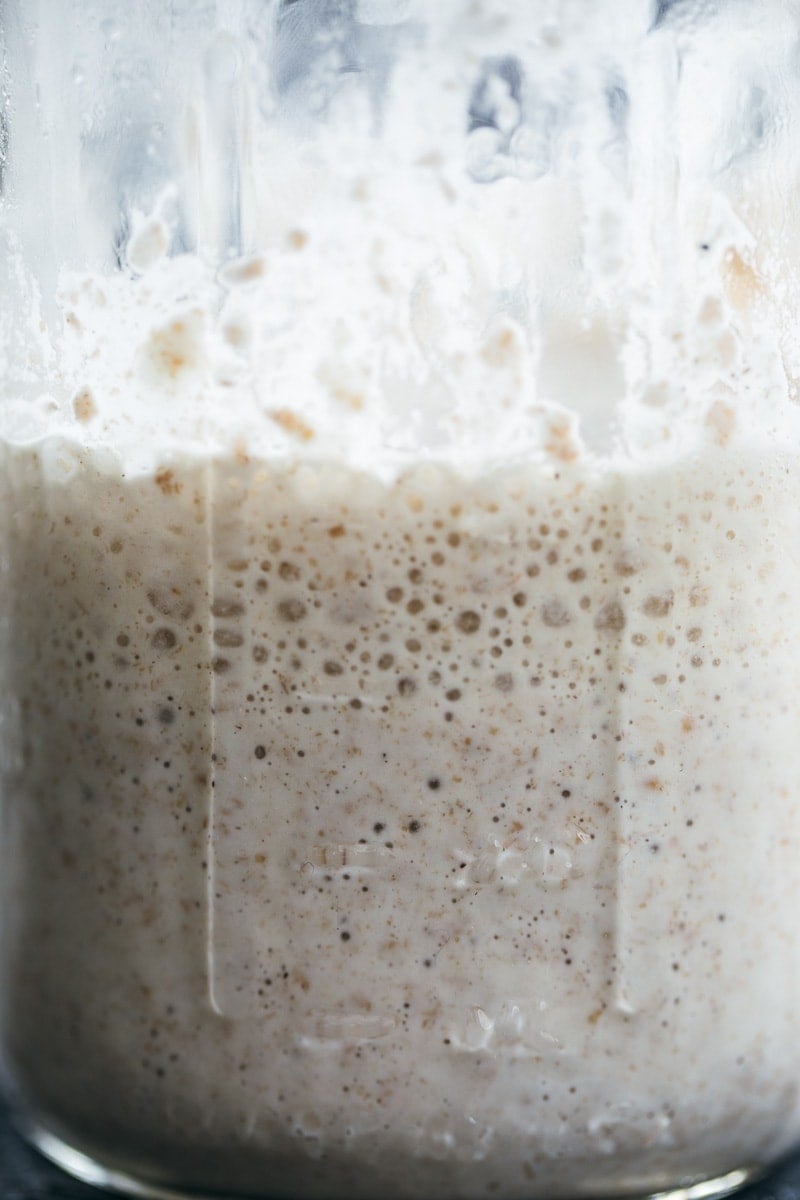
When will I see bubbles in my Sourdough Starter?
You should see bubbles and fermentation action from Day 2. If the starter feels flat and doesn’t have enough bubbles, give it warmth (place in gentle sunlight, wrap in heat pad, place near a warm oven etc..)
Why does your process call for feeding for four days straight while some others start discarding from Day 2 onwards?
You need to feed the starter for at least 3-4 days to get the bubbles going before you start to discard and feed (Refer to the feeding chart above). This is to allow sufficient bulk and yeast to grow. If you feel your sourdough doesn’t have enough bubbles and hasn’t grown, don’t start the discard process. Continue feeding it for an extra day or two till it starts bubbling and growing and then start with the discard.
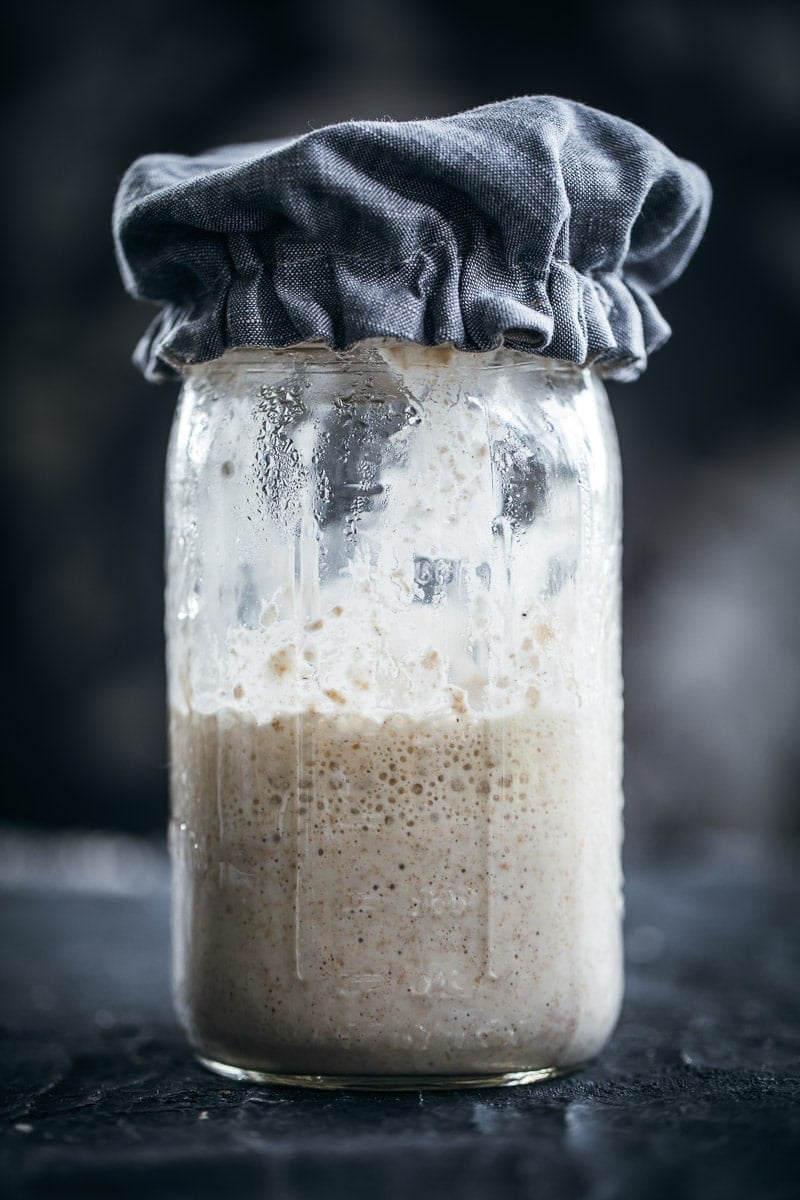
My Sourdough Starter has bubbles but it also has liquid on top? What does this mean?
If the Sourdough starter has bubbles but liquid on top, it means it is hungry and needs a feed. This can happen in a warm climate where fermentation is faster and the organisms in the starter have eaten all the flour rapidly. It is okay to feed your starter twice a day at 12-hour intervals, in this case, to bring it to a bubbly, spongey state with no liquid on top.
Tell me about Sourdough Smells? Mine smells like alcohol? Has it gone bad?
After Day 1, your sourdough starter will have a mild honey-like smell. From Day 2, the smell will be slightly sour like yoghurt. A good sourdough starter will have a strong yeast smell, often vinegary sour and in some cases, alcoholic like acetone (nail polish remover). If you have liquid on top, it should be amber or light brown or even grayish.
How do I know if my Sourdough Starter is dead?
If there is liquid on top and it is pink or starter smells very cheesy, like rotten meat or something foul, throw it out and start again. If you have pinkish or reddish or maroon spots on the surface, chances are it has mold growing. If your starter has one or more of the above and looks flat and pasty with no bubbles, it is dead.
My starter took almost 10 days to show big bubbles, it had some bubbles but hasn't grown like you said it would?
If your starter doesn’t show bubbles right away but takes up to a week or more, don’t worry. As long as it doesn’t smell foul and is not flat and pasty, it just means that it needs more warmth. Popping 2-3 soaked organic raisins in your starter and placing it in a warm spot (in the sun, near an oven, wrapped in a heat pad in an esky) will give it the warmth and sugar it needs to ferment and generate yeast.
Don’t worry if you are a couple of days off. As long as you have bubbles in the starter, you can’t go wrong. Once the starter gets going and you follow a couple of basic rules, it is very hard to kill the starter. Try and relax and flourflourfeel and understand the process.
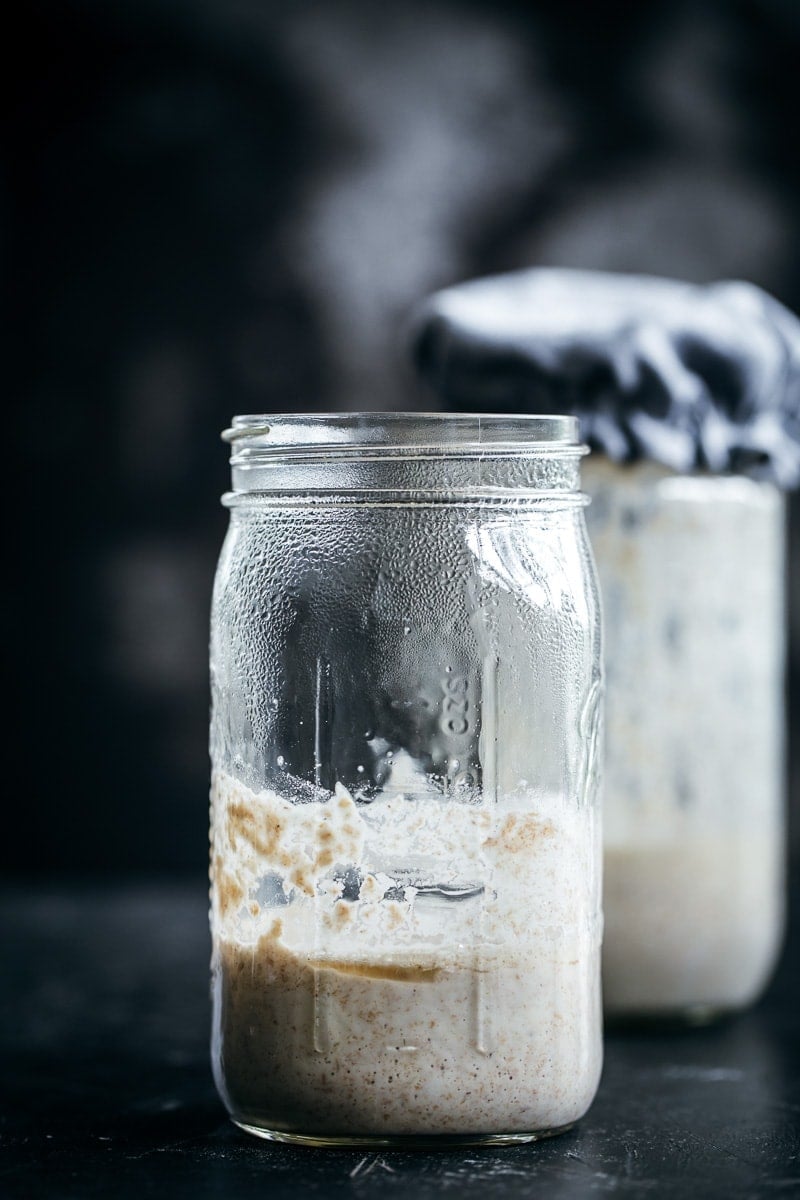
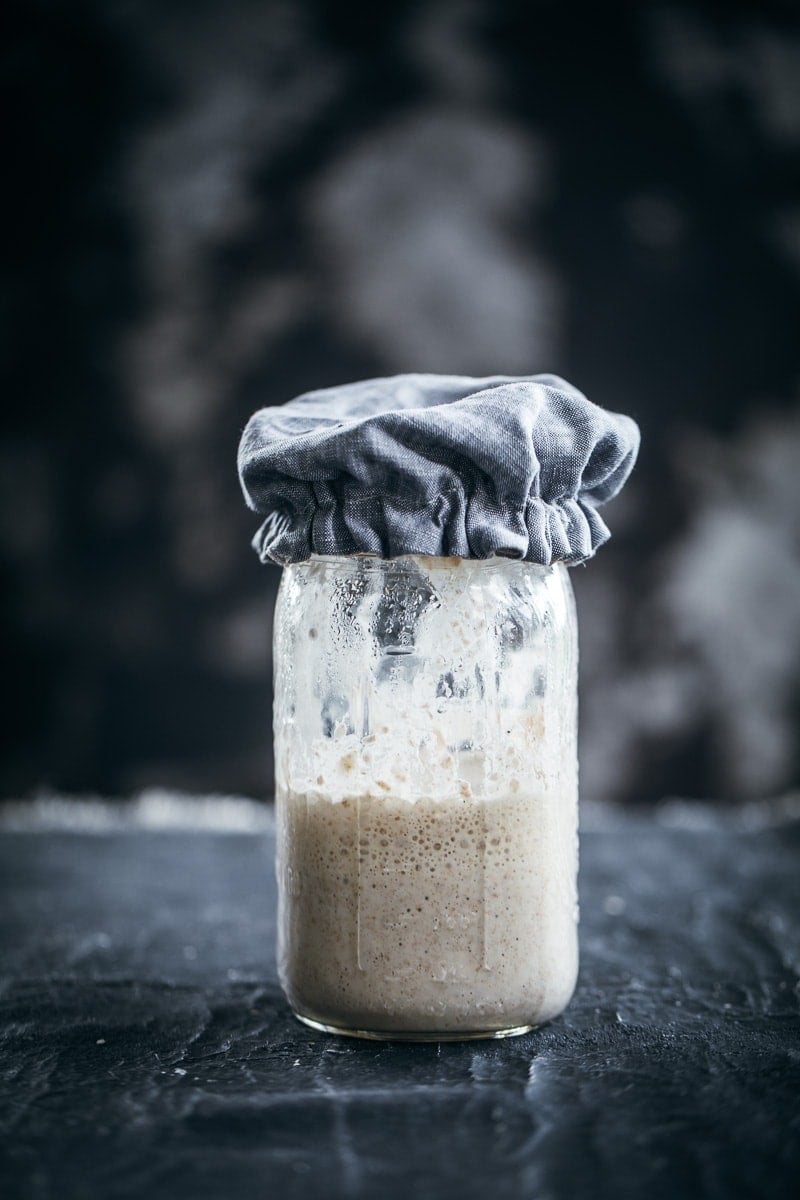
And finally .. Where can I find that cute little linen hat for my starter jar?
It is cute, isn't it? It is the smallest of three linen food covers from the lovely people at Kinfolk & Co.


Thanks so much for putting this guide together Sneh! It was my first time making sourdough and thought it would be easy like making a typical yeast dough but had a few challenges. Having your visual guide was perfect for troubleshooting and loved all the great ideas for using the sourdough discard recipes. 🙂